I'm going to customize it further adding the Intel Sata drivers and making it fully unattended, but the base will be the one from this post.
I obviously had to dig in the net to find some amazing packages and tool and thanks to people like RyanVM , jd976 and NonnoFabio (grazie!!) I managed to achieve the best result with the minimum effort.
Tools Needed:
1. Original copy of untouched Windows XP SP3 (I used the original MSDN VL version). Let me spend few words about the junk found on the net: you will find many, many post about copy of xp sp3 including the updates but untouched.
If it is untouched how can it include the updates? Untouched means untouched: no removed components,no added drivers, no integrated serial, etc.....Beware!
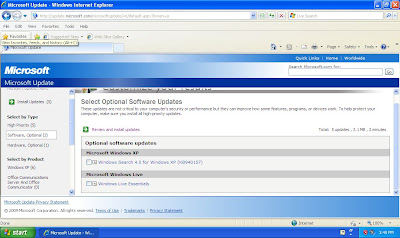
2. RyanVM integrator: can be found here. You could also use Nlite (and that's what I will use afterwards to integrate the serial and make it fully unattended) but I have the necessity to remove Windows Desktop Search from the package because I totally hate it and the only way to achieve this is by using the integrator kindly offered by RyanVM
3. .Net Framework All in One x86(incl 3.5SP1) found here
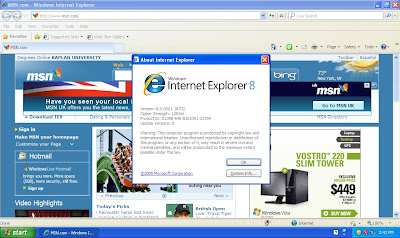
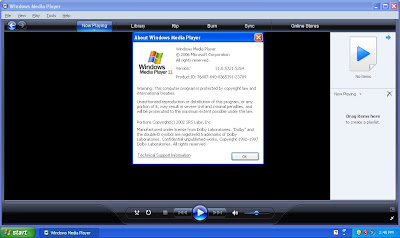
4. Onepiece XP Post-SP3 AIO Update Pack v2.6.0-090715 found here. This package is simply amazing it includes basically everything needed to have an up to date copy of XP.
From the post in the Forum: "This XP post-SP3 All-in-One Update Pack differs from Ryan's One, which is more customizable to your needs, as it includes by default more stuff like IE8, DX updates, .NET 1.1 or WMP11 for an easier integration, along with official and nearly all request-only hotfixes (RyanVM's Update Pack is more selective with request-only hotfixes, which is fine): all in a few MBs."
Ok let's start the integration :
1 Extract the Windows XP .iso file into a temporary folder (WinXpSp3June)
2 Fire up the RVM integrator
3 Select the temporary folder as the location containing the i386 Directory
4 Select the Onepiece XP Post-SP3 AIO Update Pack in the Update Pack field
5 Click Integrate

After the process has been completed according to nonno fabio in his post here is time to add the compatibility package and ,in my case, run the ini file to remove the Desktop Search.
Repeat the same step as above but this time add first the compatibility package in the addon package field and integrate it, and then add the switch to remove Desktop Search and integrate it.

Now is time to add the .net framework: select the update field and since it won't find it automatically you will need to select it manually by typing the name as shown here:

Once more hit integrate.
Create the iso using the integrator (it is self explanatory how to do it) and you are ready to go!!
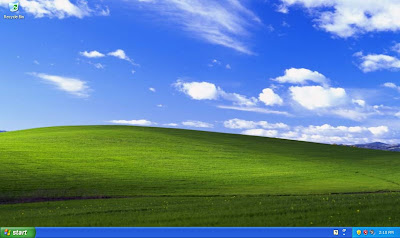
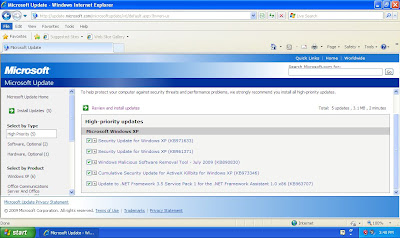
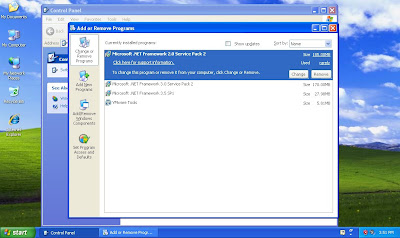
I installed it in a VM and works flawlessly
Part 1
Part 2
Part 3
Part 4
Serial
Password : darconio
No comments:
Post a Comment